When exporting photos from Lightroom, using the right settings can make all the difference. Whether you’re sharing on social media, sending images to a client, or printing them for a gallery, optimizing your export settings ensures your photos look their absolute best.

Our guide walks you through beginner-friendly and advanced best Lightroom Export Settings, includes hacks for bulk exporting, and answers common questions about Lightroom export.
Why Export Settings Matter?
Export settings are crucial because they determine your images’ quality, resolution, and file size. A photo exported with incorrect settings might appear pixelated, overly compressed, or too large to upload.
Knowing the difference between various file formats, resolutions, and compression levels helps you tailor your exports to your specific needs. Mastering export settings will elevate your workflow, whether you’re a hobbyist or a professional photographer.
Easy Export Settings for Beginners
If you’re new to Lightroom, these basic settings will cover most situations:
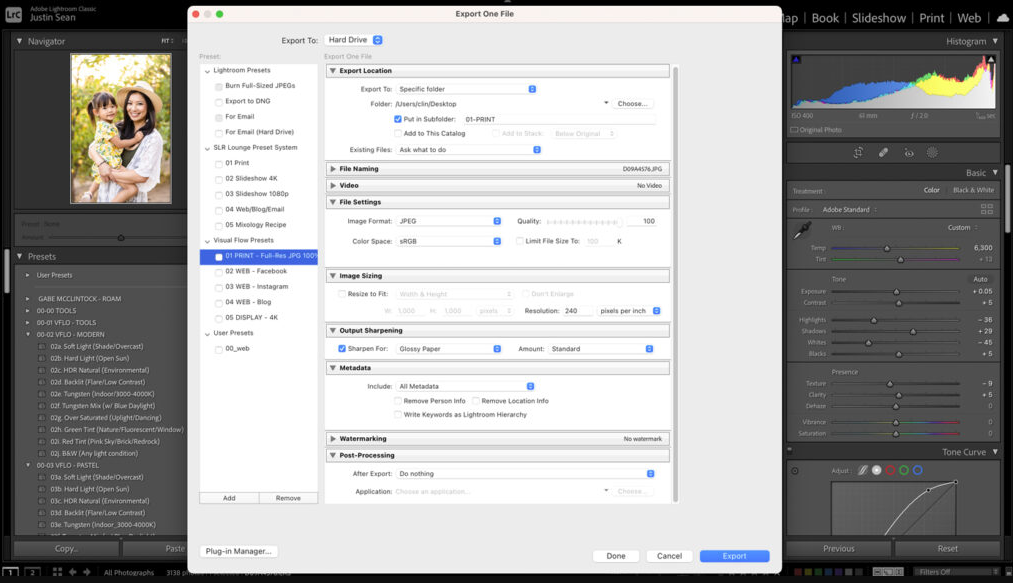
- File Format: Choose JPEG for general use, as it’s widely supported and balances quality with file size. This format is ideal for everyday use, including online sharing and basic printing.
- Quality: Set the quality slider to 80-100 for web use and prints. A value closer to 80 provides smaller file sizes without significant quality loss, while 100 ensures maximum detail.
- Resolution: Use 300 pixels per inch (PPI) for print to achieve high-quality results. For web images, 72 PPI is sufficient to keep file sizes manageable.
- Resize: For social media, resizing the long edge to 2048 pixels ensures compatibility with most platforms while maintaining visual quality.
- Color Space: Select sRGB, the standard for online sharing, to ensure your photos look consistent across different screens and devices.
- Watermarking: Add a simple watermark to protect your work from unauthorized use and enhance branding. This can include your name, logo, or copyright notice.
- Output Sharpening: Enable “Screen” sharpening for web images to enhance clarity or “Glossy” for prints to maintain detail.
- File Naming: Use Lightroom’s automatic naming templates to organize your exported files. Customizing names with dates or project identifiers can also streamline management.
- Compression: Adjust compression to balance file size and image quality. Lower compression results in better quality but larger files, while higher compression saves space.
- Folder Destination: Specify a default export folder to simplify workflow and avoid misplacing files.

Professional Export Settings for Advanced Users
For photographers needing precise control, these advanced settings can make a significant impact:
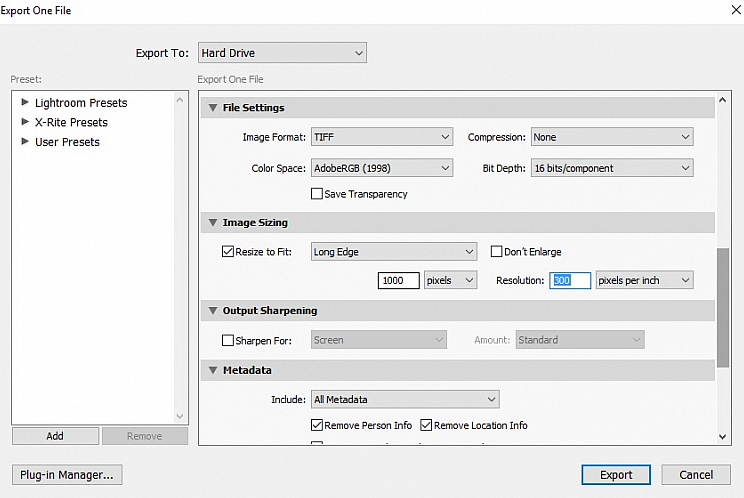
- File Format: Use TIFF for high-quality prints and archival purposes. TIFF retains maximum detail and is preferred for professional editing.
- Quality: Always set quality to 100 for detailed prints, ensuring no visible loss in image fidelity.
- Resolution: Maintain 300 PPI for high-end prints or client deliveries. This resolution guarantees sharpness and clarity in printed media.
- Color Space: Choose Adobe RGB or ProPhoto RGB for professional editing and printing. These color spaces offer a broader range of colors than sRGB.
- Sharpening: Enable output sharpening tailored to your medium: “Matte” or “Glossy” for prints and “Screen” for digital displays.
- Metadata: Embed copyright and contact information to protect your intellectual property and provide branding.
- File Naming: Utilize custom naming conventions to keep files organized, especially for large projects or client work.
- Bit Depth: Export in 16-bit depth for TIFF files to preserve maximum color accuracy and detail.
- Compression: Avoid compression in professional-grade files to retain all image data, ensuring no loss of quality.
- Soft Proofing: Use Lightroom’s soft proofing feature to preview your image’s appearance on the intended output medium. Adjust accordingly before exporting.
Hacks for Bulk Exporting
Exporting multiple images at once can save time, but it’s important to set consistent parameters:
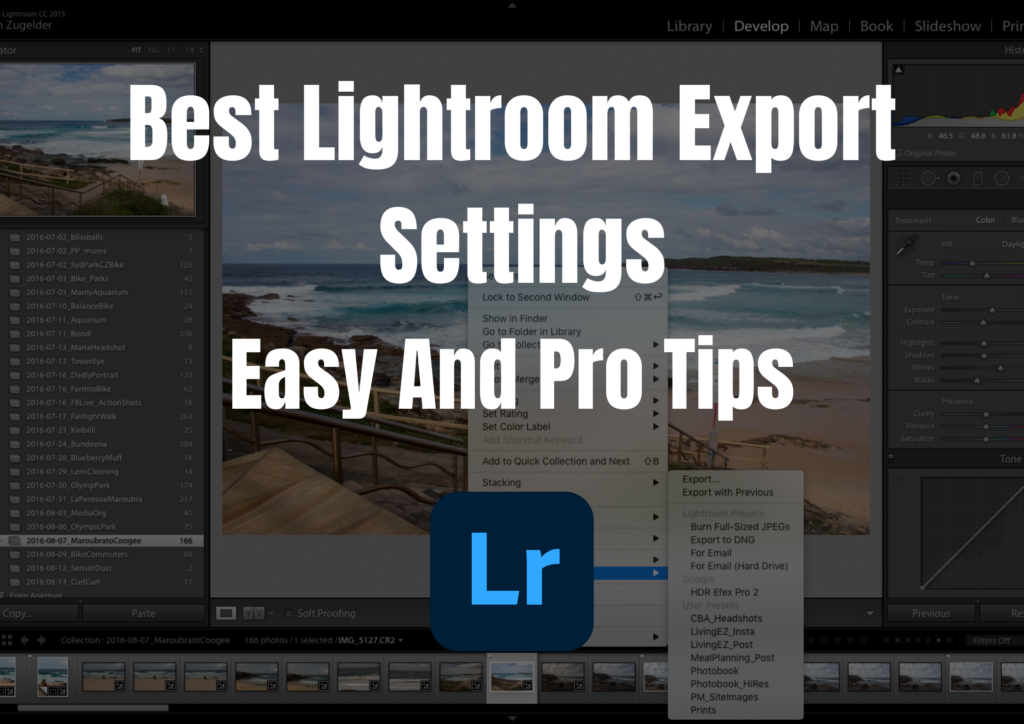
- Use Export Presets: Create presets for different needs, such as social media, web uploads, and high-res prints.
- Apply Watermarks: Add a watermark to all images to protect your work online.
- Batch Resize: Ensure all photos have uniform dimensions by enabling resizing in your export settings.
- Folder Organization: Save images in folders with structured naming conventions for easier navigation.
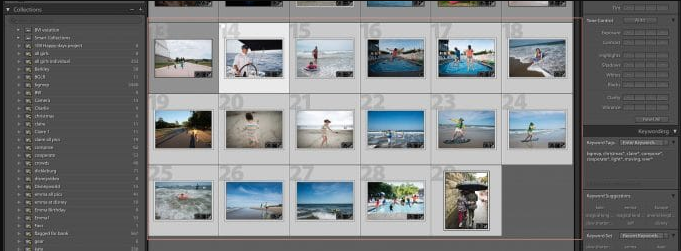
- Smart Collections: Use smart collections to filter and export specific sets of photos quickly.
Additional Tips for Exporting
- Check for Over-Editing: Before exporting, zoom into your images to ensure edits like sharpening or noise reduction don’t create unwanted artifacts.
- Monitor Calibration: Exporting with accurate colors relies on editing with a calibrated monitor.
- Preview Exports: Review exported images to ensure they meet your expectations, especially for professional work.

Frequently Asked Questions
What’s the best resolution for Instagram?
Instagram recommends a resolution of 1080 pixels on the long side. Export with sRGB color space and a quality setting 80 for optimal results.
Should I use JPEG or PNG for exports?
JPEG is best for most uses due to its quality and file size balance. Use PNG if you need transparency or higher quality for graphics.
How do I export for printing?
Set the resolution to 300 PPI, use TIFF format, and select Adobe RGB or ProPhoto RGB color space for the best results.
Can I export multiple file types at once?
Yes, you can export images in different formats by using the “Export with Previous” option or creating multiple presets.
What should I do if exported images look different?
Ensure you’re using the correct color space (sRGB for web, Adobe RGB for print) and calibrate your monitor for accurate color representation.
How can I reduce the file size without losing too much quality?
Lower the quality setting slightly (e.g., 80 instead of 100) and resize the image dimensions. Use JPEG instead of TIFF to save space.

Why do my prints look darker than on the screen?
This often happens if your monitor’s brightness is too high. Calibrate your monitor and consider soft proofing in Lightroom to adjust for print output.
What is the difference between sRGB and Adobe RGB?
sRGB is a smaller color space that is ideal for web and general use. Adobe RGB has a wider color range, making it better for high-quality prints.
How do I export with a transparent background?
Choose PNG as your file format and ensure the background is transparent in the original edit. Note that JPEG does not support transparency.
Can I automate exports for different formats?
Yes, Lightroom allows you to create multiple export presets. You can apply them simultaneously to save time when exporting for varied purposes.
Final Thoughts
Exporting photos from Lightroom isn’t just about clicking a button—it’s about ensuring your images look as stunning outside Lightroom as they do inside it.
Mastering these export settings, you can tailor your workflow to meet various needs, from casual sharing to professional delivery. With the right settings, your photos will shine wherever they’re displayed.

