Adding a watermark to your photos is essential for protecting your work and establishing your brand identity. Lightroom offers convenient tools to add watermarks, whether you’re a beginner or a professional photographer.

So, if you’re struggling with how to add watermark in Lightroom, this guide will walk you through the steps to add a watermark, share tips for perfecting it, and suggest the best placement for a professional look.
Easy Ways to Add a Watermark in Lightroom
Watermarks protect your images from unauthorized use and serve as a subtle advertisement for your photography business. While some photographers prefer simple text-based watermarks, others opt for elaborate logos.
Regardless of your preference, mastering the watermarking process in Lightroom can elevate the presentation of your work. Let’s cover various techniques to create and place watermarks effectively.
With Lightroom Classic
1. Open the Export Dialog:
- Select the photo(s) you want to watermark.
- Go to File > Export or press `Ctrl + Shift + E` (`Cmd + Shift + E` on Mac).
2. Enable Watermarking:
- In the export window, check the Watermark box.
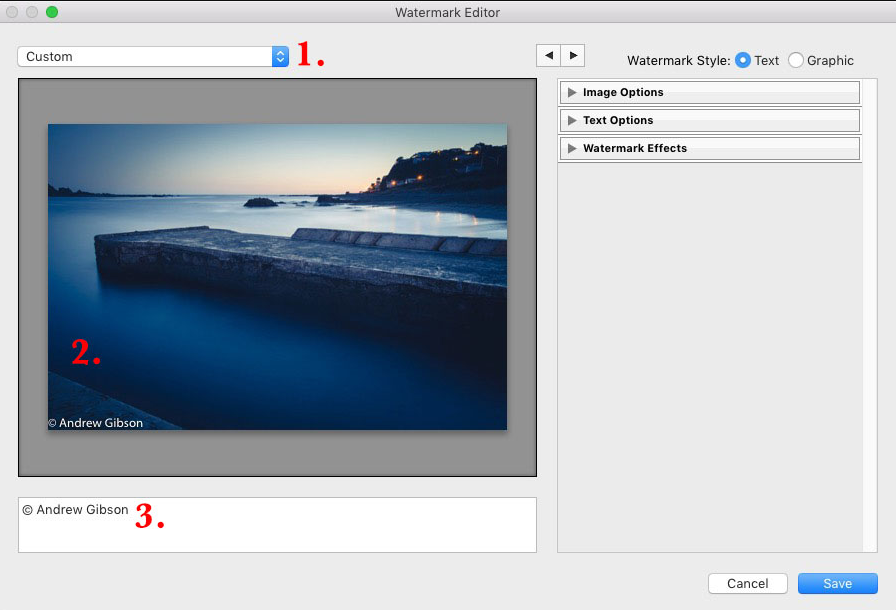
- Click Edit Watermark to customize your watermark.
3. Customize Your Watermark:
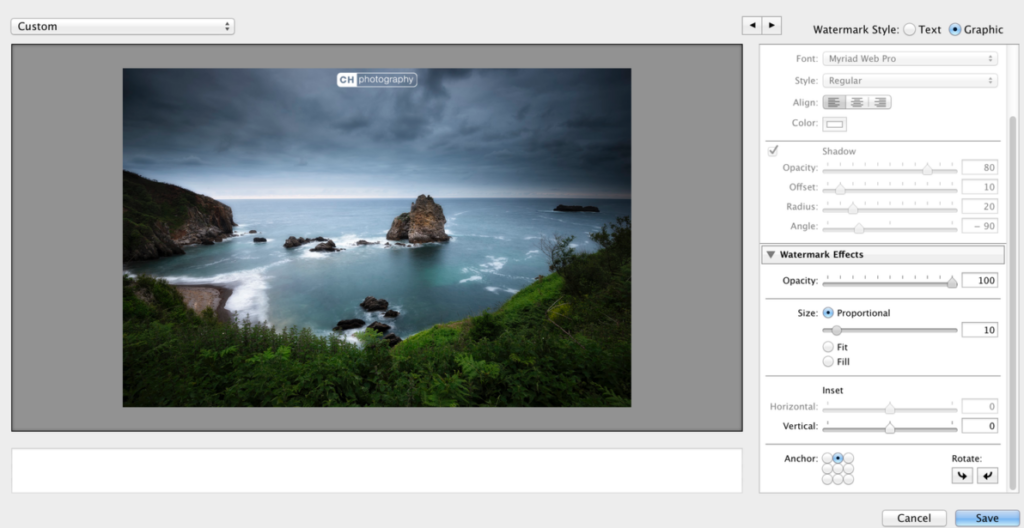
- Choose Text or Graphic watermark options.
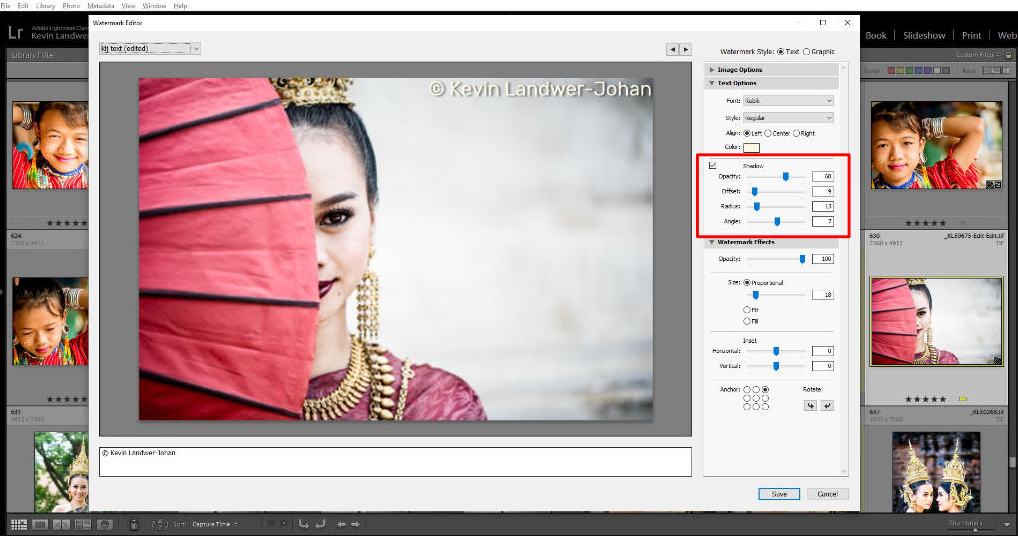
- Adjust font, size, opacity, and position for text watermarks.
- Upload your logo or image file for a graphic watermark.

4. Save Your Settings:
- Once satisfied, save the watermark as a preset for future use.
5. Export Your Image:
- Click Export to apply the watermark and save the image.
Using Lightroom Mobile
1. Access the Share Settings:
- Open the photo you want to watermark.
- Tap the Share icon and select Export As.
2. Enable Watermarking:
- Toggle on the Include Watermark option.
- Tap Customize Watermark to edit.
3. Edit Your Watermark:
- Adjust text, font, size, and position.
Note: Graphic watermarks may not be supported in the mobile version.
4. Save and Export:
- Tap Save to apply the watermark and export the image.
Professional Methods for Adding a Watermark
Creating a Custom Logo Watermark:
- Design your logo using software like Adobe Illustrator or Canva.
- Export the logo as a transparent PNG file.
- Upload the PNG file to Lightroom’s watermark editor using the Graphic option.
Batch Watermarking for Consistency:
- Select multiple photos in Lightroom.
- Follow the export steps and ensure the Watermark option is enabled.
- Apply the same watermark settings to maintain a consistent look across all images.

Tips for Perfect Watermarks
1. Keep It Subtle:
- Avoid overpowering the photo with a large or opaque watermark.
- Use a soft opacity (20-50%) to ensure it blends with the image.
2. Choose the Right Font:
- For text-based watermarks, use clean, professional fonts like Helvetica or Lora.
- Avoid decorative fonts that might look unprofessional.
3. Maintain Proportions:
- Ensure the watermark size is proportional to the photo dimensions.
- Test the watermark on different resolutions to ensure clarity.
Where Should You Add the Watermark?
1. Corners: The bottom-right or bottom-left corners are the most common and least intrusive spots.
2. Center: A centered watermark works well for high-risk photos but can be distracting.
3. Edges: Place the watermark along the edge of the photo for a balanced look.
4. Custom Placement: Adjust the position depending on the composition of your image to avoid covering important details.
Frequently Asked Questions
Can I edit a watermark after applying it?
No, once a watermark is applied, and the image is exported, it cannot be edited. You’ll need to re-export the image with the updated watermark using the original file to make necessary changes for future use.
Can I remove a watermark from a photo?
Only if you still have the original unwatermarked file. Once a watermark is embedded in an exported image, it cannot be removed without reverting to the source file.

What file formats support watermarks in Lightroom?
JPEG, PNG, and TIFF images can all include watermarks when exported. Ensure you choose the correct format for your project to retain quality and watermark visibility.
Is it better to use text or a graphic watermark?
Text watermarks are quick and versatile, while graphic watermarks add a professional touch. Choose based on your branding needs and the overall aesthetic you want to achieve for your images.
Why is my watermark blurry?
Ensure your logo or text is high-resolution and appropriately scaled for the image size. Low-quality graphics or incorrect sizing during export can lead to blurry watermarks.
Adding a watermark in Lightroom is a simple yet effective way to protect and brand your photos. Lightroom provides flexible options to suit your needs, whether you prefer a quick text-based watermark or a custom logo.
By following the steps and tips outlined in this guide, you can create professional-looking watermarks that enhance your photos without distracting from their beauty. Experiment with placement and opacity to find the perfect balance for your unique style.

